.png?height=120&name=4.0%20(7).png)
All QVscribe for DOORS Next users will need the following to get up and running:
-
Download files for QVscribe Browser Extension
-
The QVscribe Teams Server hostname/IP
-
Their username and password *Note this not needed if you are using Active Directory for licensing
Below outlines all the steps they will need to take to get up and running with QVscribe for DOORS Next,
QVscribe Installation Process
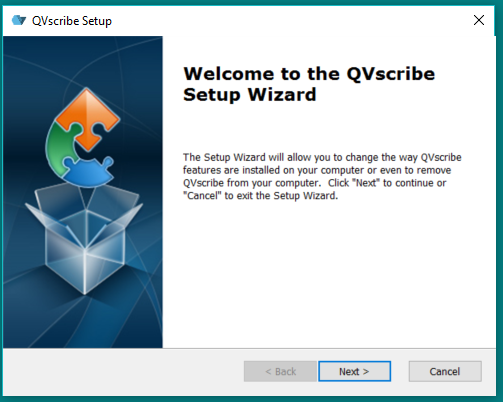
Step 1: Run the installer QVscribeForChrome_[version].msi installer
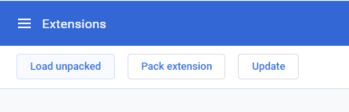
Step 2: Open Google Chrome and type chrome://extensions in your address bar.

Step 3: Enable the Developer Mode present on the top right corner of the window.

Step 4: Select Load-Unpacked
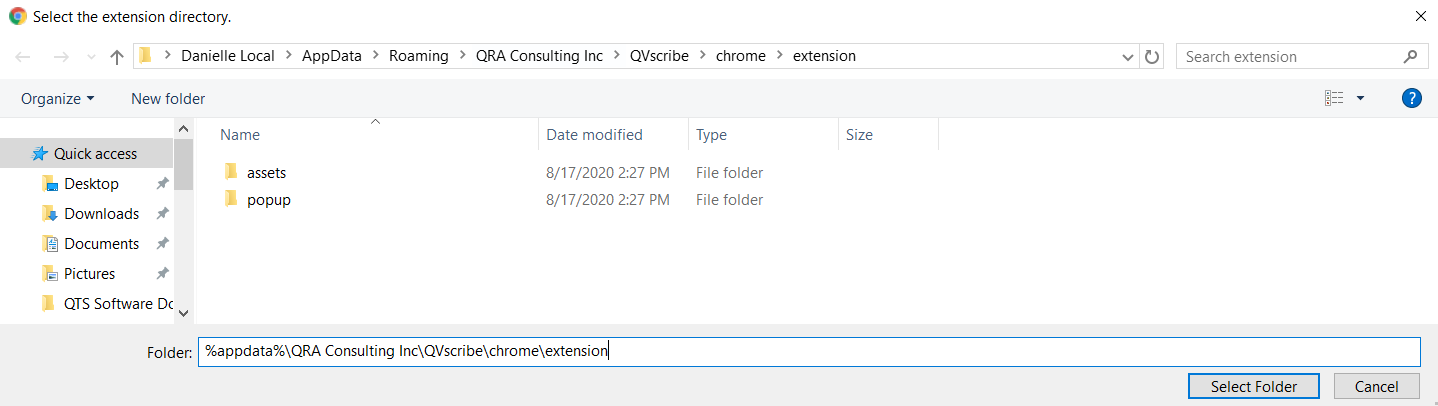
Step 5: Select folder (%appdata%\QRA Consulting Inc\QVscribe\chrome\extension) in your Google Chrome. The QVscribe 3.0 icon will show up on the top-right corner in the extension bar.
Step 6. Disable the Developer Mode.

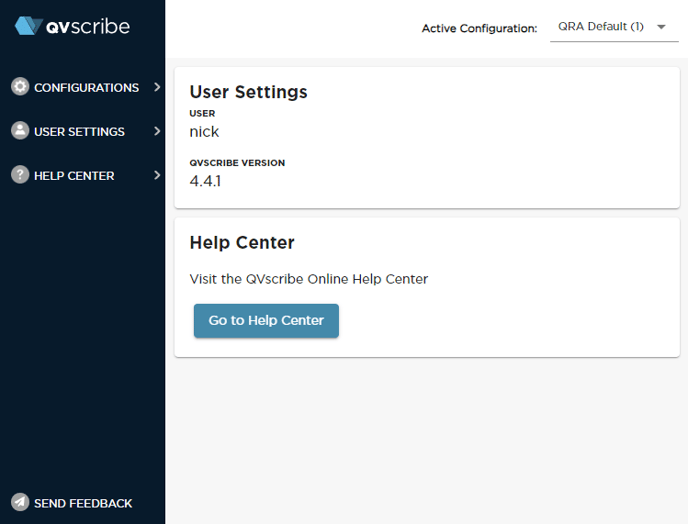
Step 7: Click on the QVscribe 3.0 icon and check the status of the analyzer.
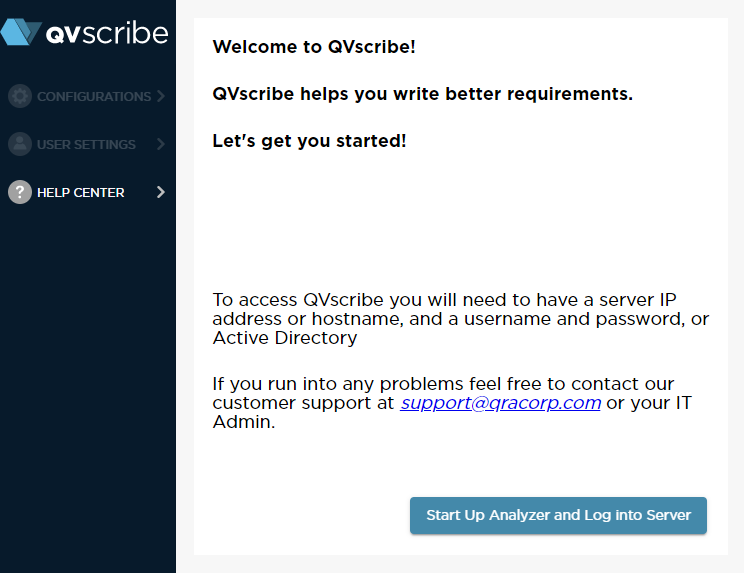
If the analyzer is offline click on Start Up Anaylzer and Log into Server button.
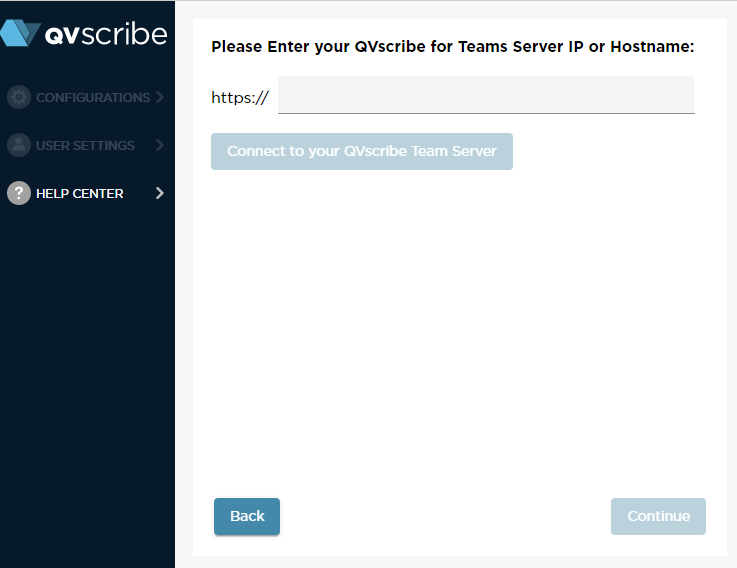
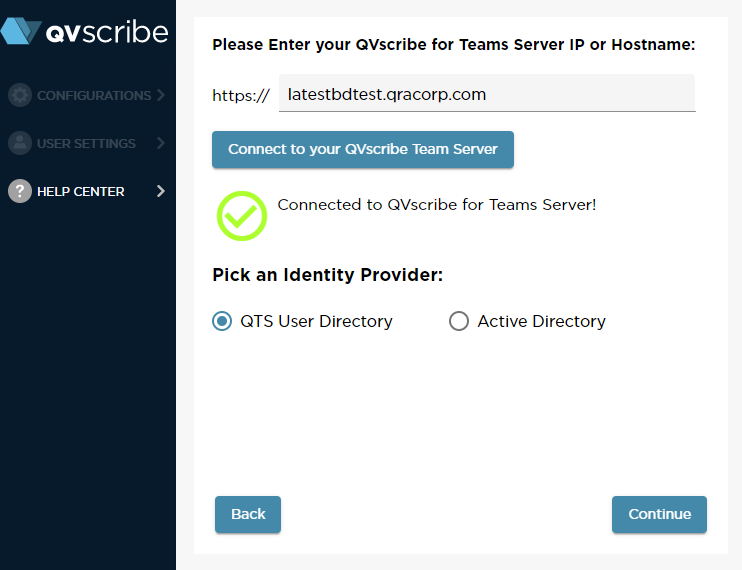
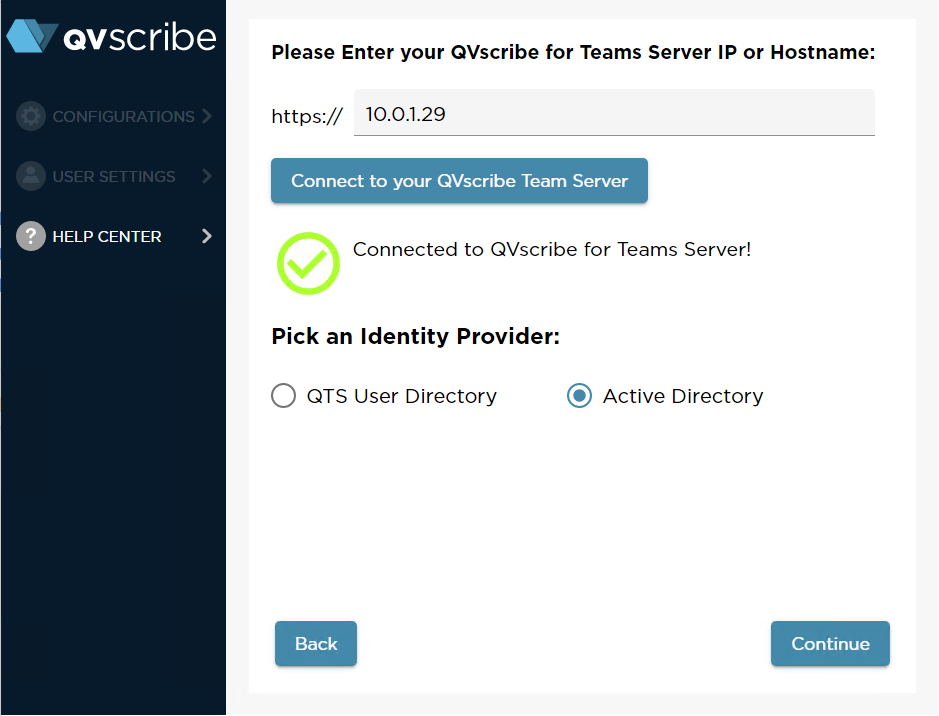
Step 8: Enter your QVscribe for Teams Server IP or Hostname and then click Connect to your QVscribe Team Server . Note: This should be provided to you by the QVscribe Admin.
Step 9: Pick your identity provider. This information will be provided by your QTS Admin as well. If you are connecting via QTS User Directory, you should have a username and password. Alternatively, if you are set up to connect via Active Directory, you will automatically connect via your computer login credentials.
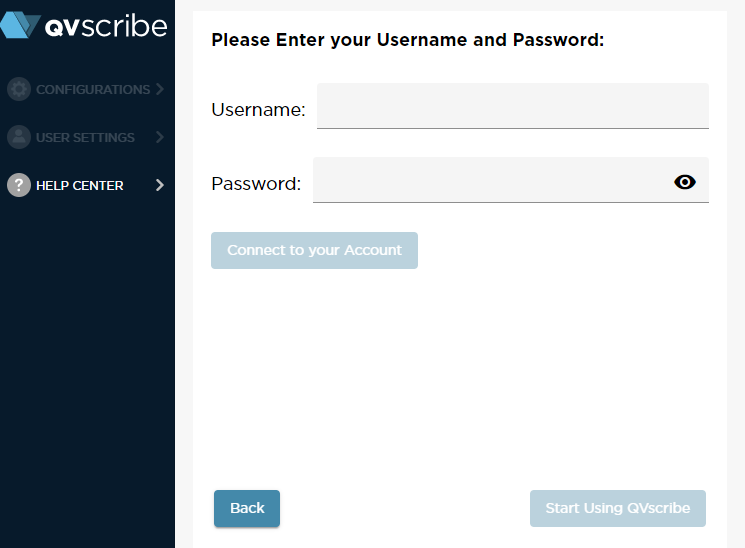
Option 1: Connecting by QTS User Directory (Username and Password)
You will then be prompted to enter your username and password
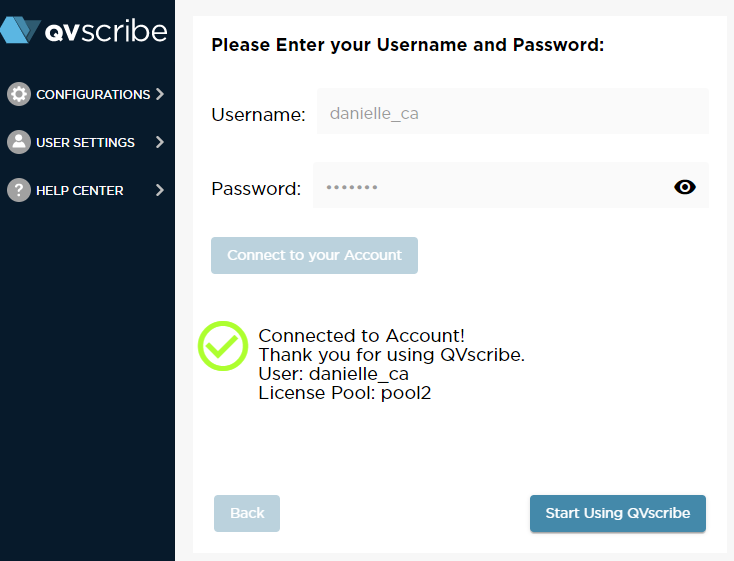
Once you have connected you by username and password, you will receive the following message.
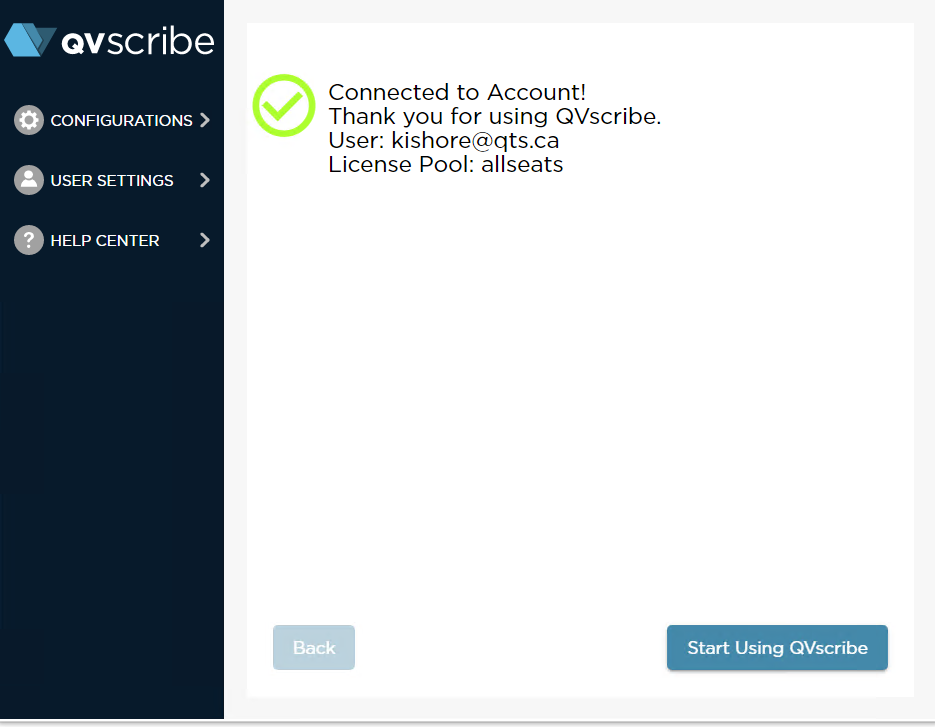
Option 2: Connecting by Active Directory
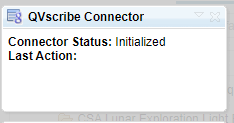
Once you have connected you by AD, you will receive the following message.
QVscribe Doors Connector Installation Process
Step 1: Log into DOORS Next
Step 2: Open Mini Dashboard within DOORS Next
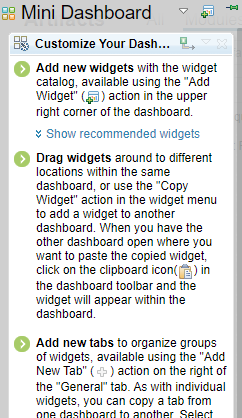
Step 3: Click on Add Widget button.

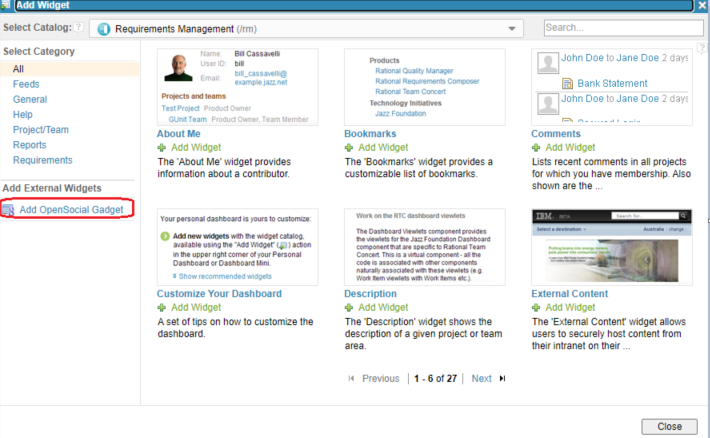
Step 4: Within the add widget dialog box, click on Add OpenSocial Gadget.
Step 5: Add QVscribe 4.4.1 connector url. Note this URL will be provided in your READ ME file attached to your QVscribe DOORS Next Download files.
Connector URL:
https://storagedoors.blob.core.windows.net/doors101/qvscribe-doors-extension.xml
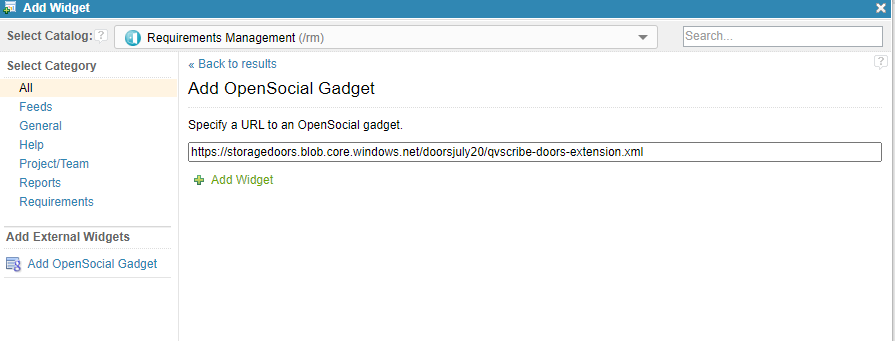
Step 6: Click on Add Widget.
To ensure that the QVscribe connector remains active, please pin the Mini Dashboard open using the pin button in the top right corner. If you do not pin the Dashboard you may need to click open the Dashboard again each time you log in or refresh the page.
QVscribe 4.4.1 service running
The extension requires the underlying QVSAnalyzer service to be running
Step 1: Open the extension in Chrome
Step 2: QVS Analyzer status should indicate online, if not, press Start QVS Analyzerand follow Steps 7-9 above