All QVscribe for Jama users will need the following to setup QVscribe:
-
Download files for the QVscribe Browser extension
-
The QVscribe Teams Server hostname/IP
-
Their username and password *Note: this is not needed if you are using Active Directory for licensing
Below outlines all the steps they will need to take to setup QVscribe for Jama:
QVscribe Installation Process
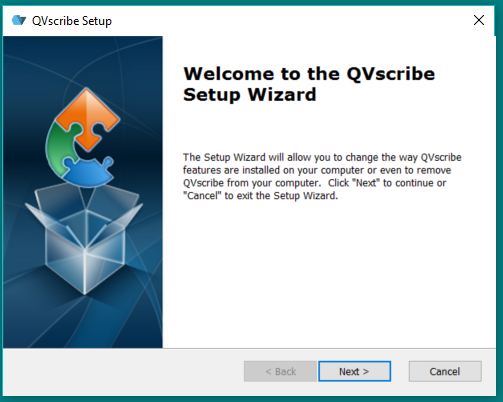
Step 1: Run the QVscribeForChrome_[version].msi installer
Step 2: Open Google Chrome and type chrome://extensions in your address bar.
You can also access your extensions by clicking on the puzzle piece icon on the top right corner of your Chrome browser. Click on Manage extensions.
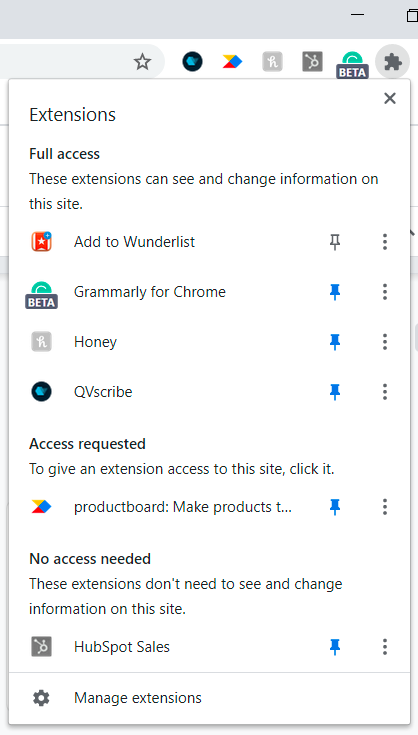

Step 3: Enable the Developer Mode present on the top right corner of the window.

Step 4: Select Load-Unpacked

Step 5: Select folder (%appdata%\QRA Consulting Inc\QVscribe\chrome\extension) in the folder bar at the bottom of the window that opens.

Step 6. Disable the Developer Mode.

Step 7: After installing the QVscribe Browser Extension, you can pin the QVscribe icon by clicking the puzzle piece icon next to the address bar on Google Chrome.

From the drop-down menu that pops up, click the pin icon that appears next to the QVscribe extension option. This will pin the extension to the taskbar for easy access.
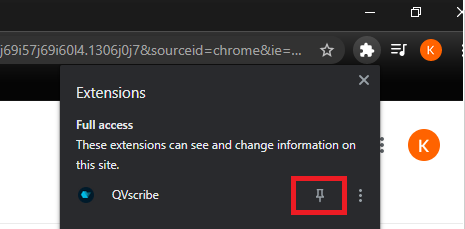
The QVscribe Browser Extension can then be located to the right of the address bar in Google Chrome.

Click on the QVscribe 3.0 icon and check the status of the analyzer. If the analyzer is offline, click “Start up Analyzer and Log into Server”.

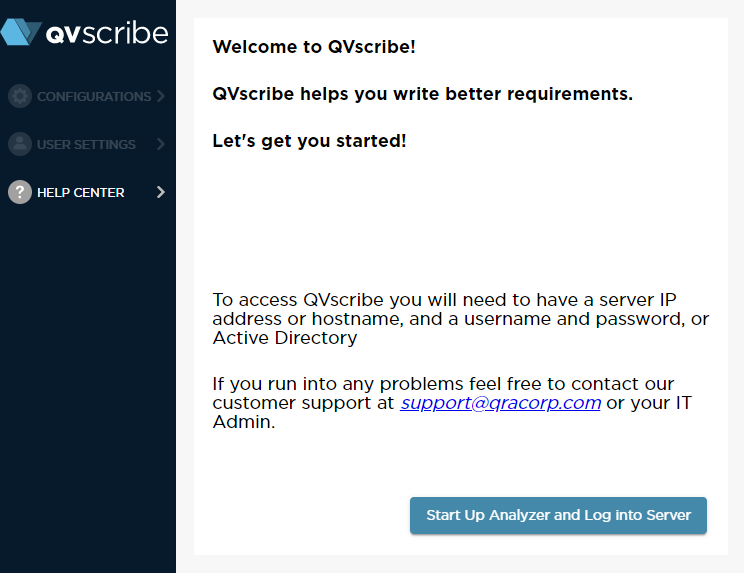
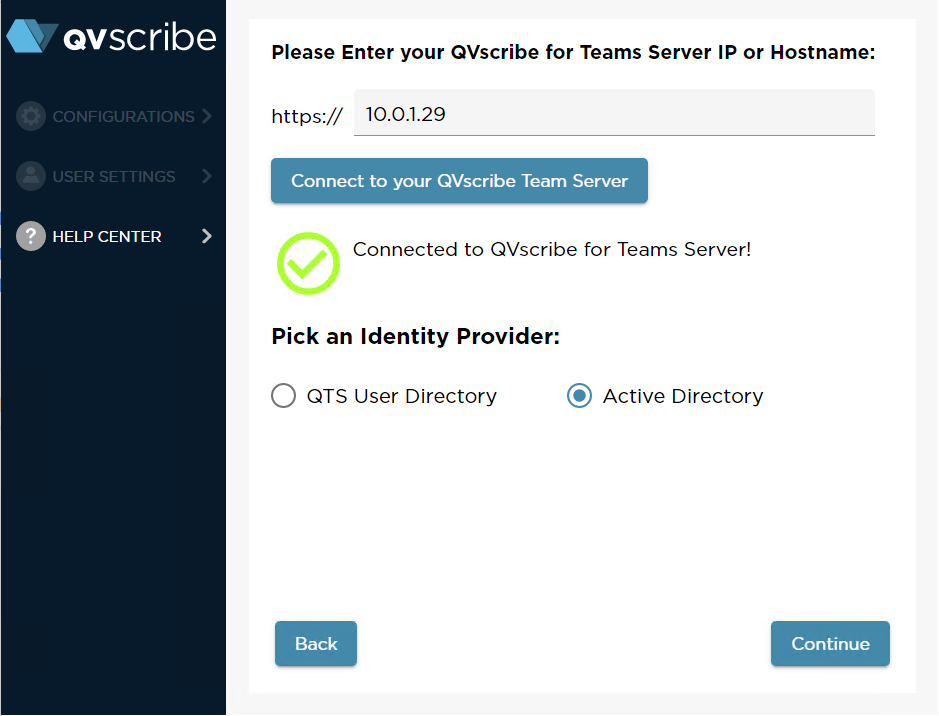
Step 8: Enter your QVscribe Server IP or Hostname and then click Connect to your QVscribe Team Server. Note: This should be provided to you by your QVscribe Admin.
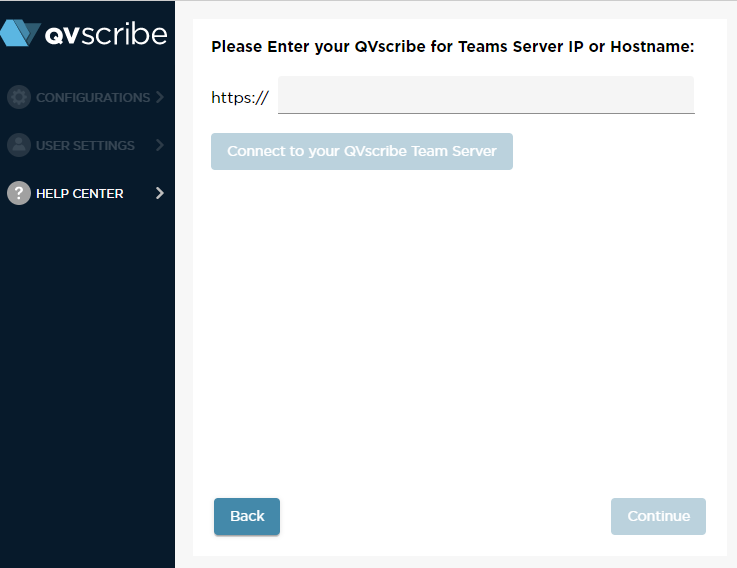
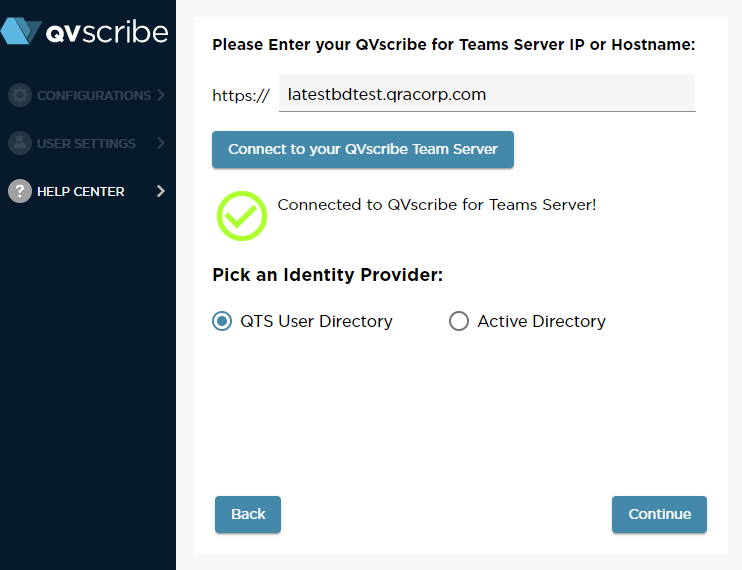
Step 9: Pick your identity provider. This information will be provided by your QTS Admin as well. If you are connecting via QTS User Directory, you should have been provided with a username and password.
Alternatively, if you are connecting via Active Directory, you will automatically connect via your computer login credentials.
Connecting by QTS User Directory (Username and Password)
Choose QTS User Directory and click continue. This will bring you to a page to enter your QVscribe credentials provided to you by your QTS Admin.
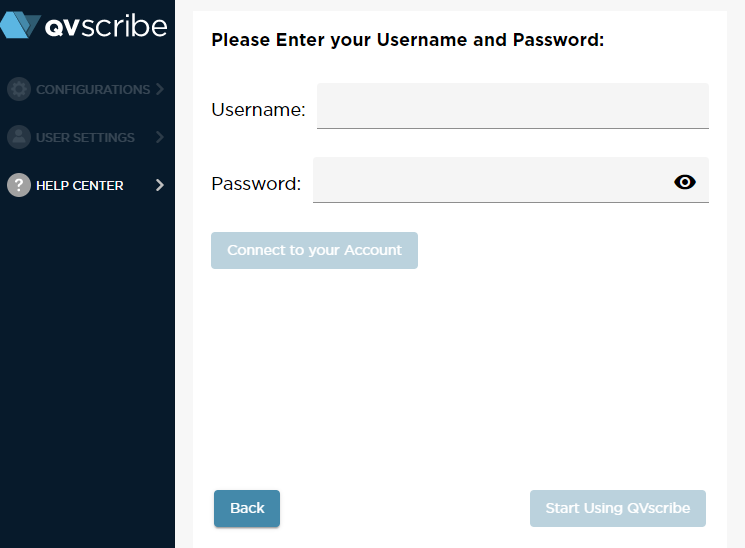
Once you have connected with your username and password, you should see the following message.
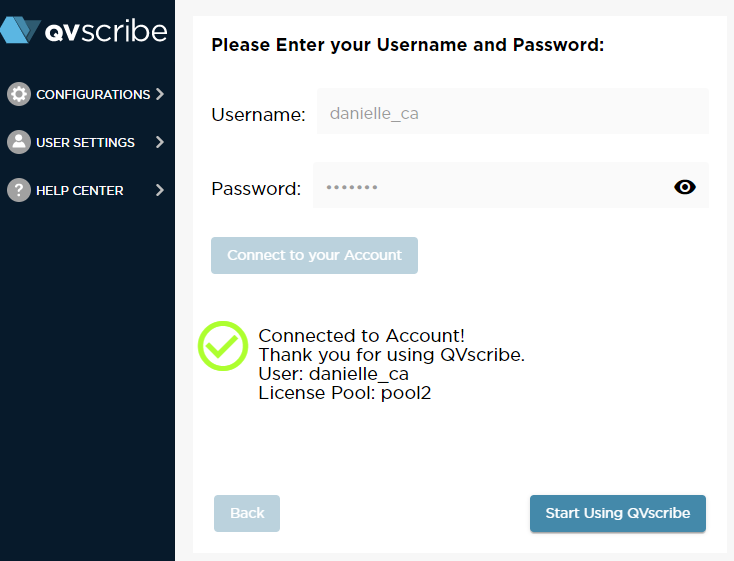
Connecting by Active Directory
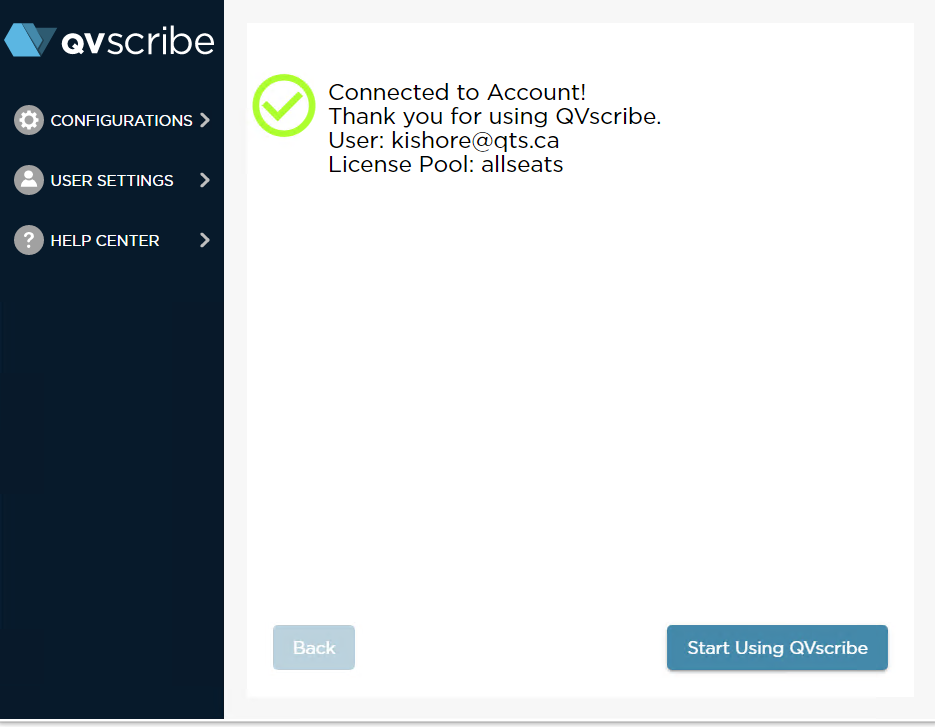
Once you have been connected by your AD, you will receive the following message.
QVscribe 4.4.1 service running
The Browser extension requires the underlying QVscribe Analyzer service to be running
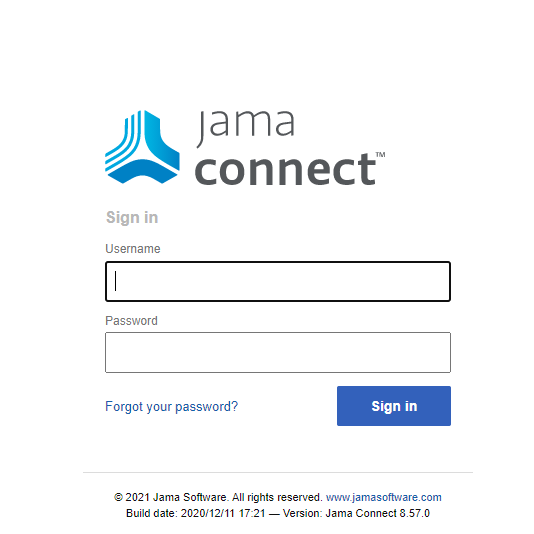
Step 1: Make sure you are logged into Jama
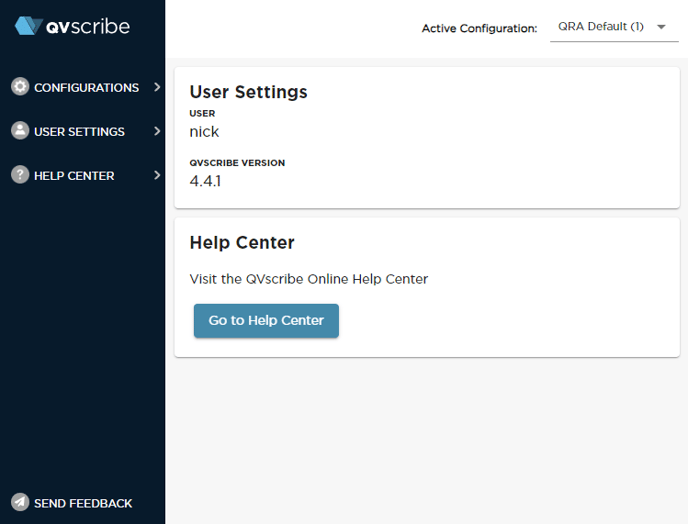
Step 1: Open the QVscribe Browser extension in Chrome

Step 2: QVscribe Analyzer status should indicate online, if not, press "Start up Analyzer and Log into Server" and follow Steps 7-9 above
.png?height=120&name=4.0%20(7).png)