.png?height=120&name=4.0%20(7).png)
All QVscribe for Poalrion users will need the following to get up and running:
-
Download files for QVscribe Browser Extension
-
The QVscribe Teams Server hostname/IP
-
Their username and password
Below outlines all the steps they will need to take to get up and running with QVscribe for DOORS Next.
Note: MacOS is supported with QVscribe for DOORS Next, Polarion, and Jama only. It is accessible through Chrome for Mac only and local directory only. Authentication through Active Directory or Single Sign On is not available at this time.
QVscribe Installation Process
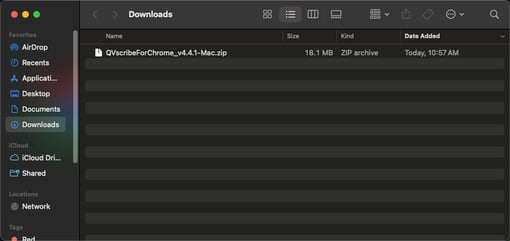
Step 1: Download the most recent version of QVscribe for Polarion - Mac.
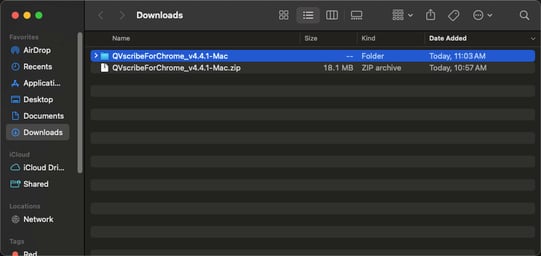
Step 2: Unzip the downloaded QVscribe for Chrome extension.
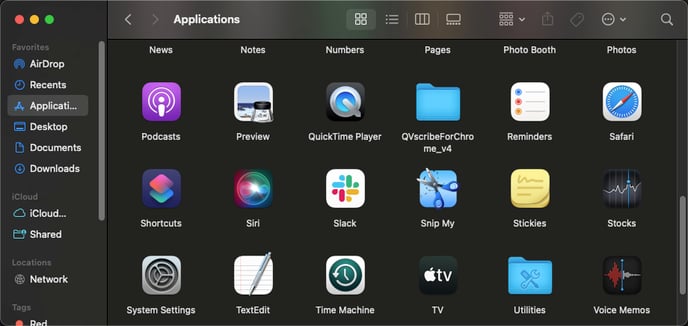
Step 3: Move the QVscribeForChrome_version to "Applications"
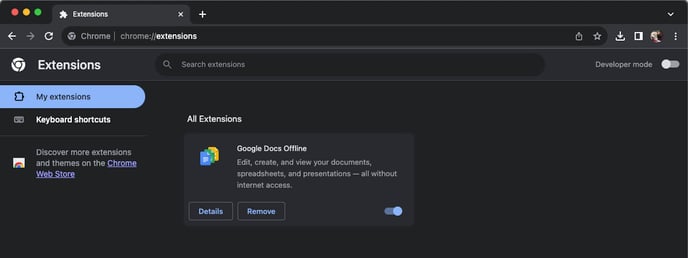
Step 4: Open Google Chrome and navigate to chrome://extensions
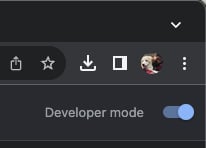
Step 5: Enable Developer Mode
Step 6: Select "Load Unpacked"

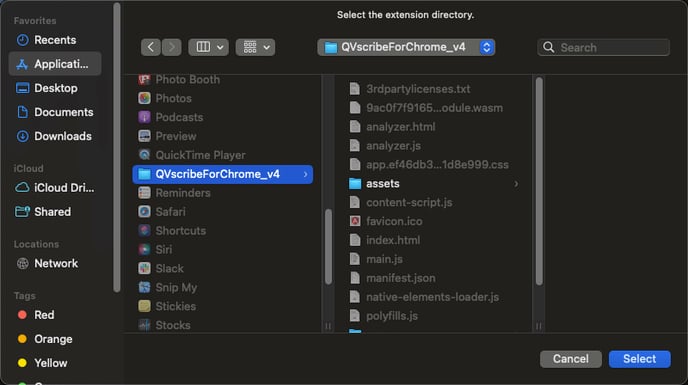
Step 7: Select the "QVscribeForChrome" folder in your Applications folder. Hit "Select" in the lower right corner.
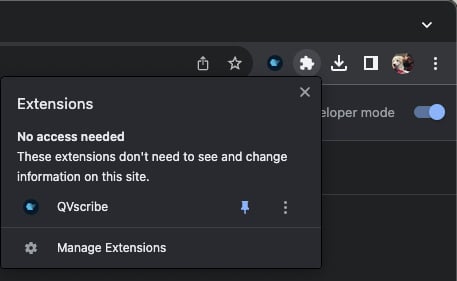
Step 8: You should now see QVscribe under the puzzle piece icon in the upper right. Select the pin icon to have it moved to your quick access panel.
Connecting through QTS User Directory - Username and Password
QVscribe for Mac Users MUST use regular user authentication - although Active Directory is a selectable option, this is not possible for use on Mac operating systems.
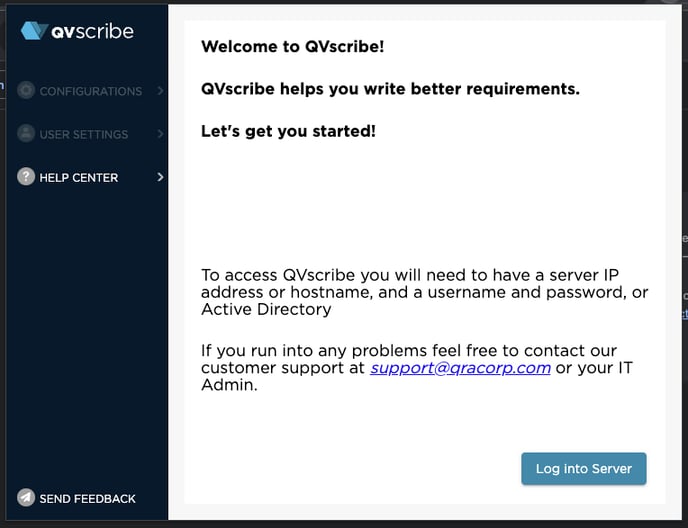
Step 1: Open QVscribe and select "Log into server"
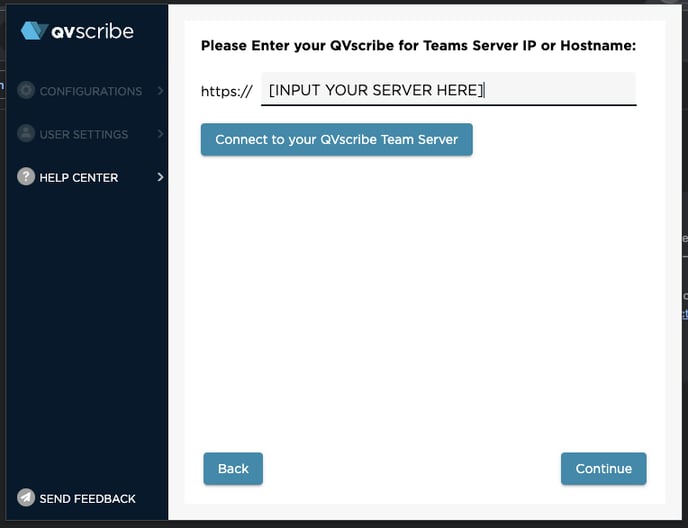
Step 2: Enter your QVscribe Teams Server address. If you do not have this information, reach out to your internal IT team for this information. Select "Connect to your QVscribe Team Server".
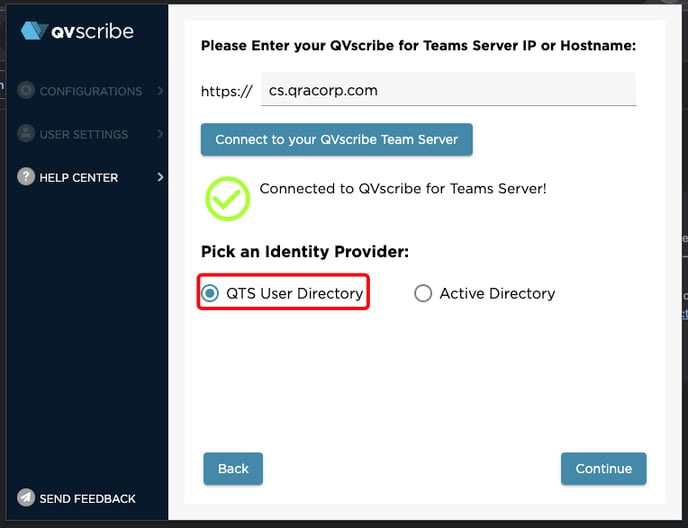
 Step 3: Select "QTS User Directory" and then "Continue"
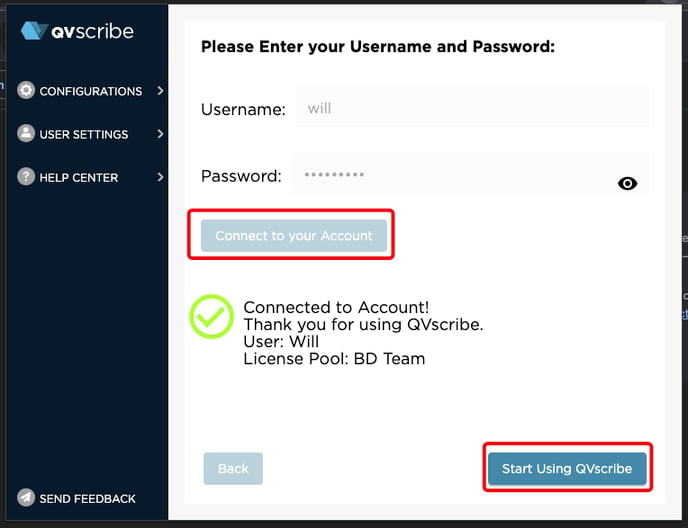
Step 4: Enter your username and password. Select "Connect to your Account" then select "Start Using QVscribe"
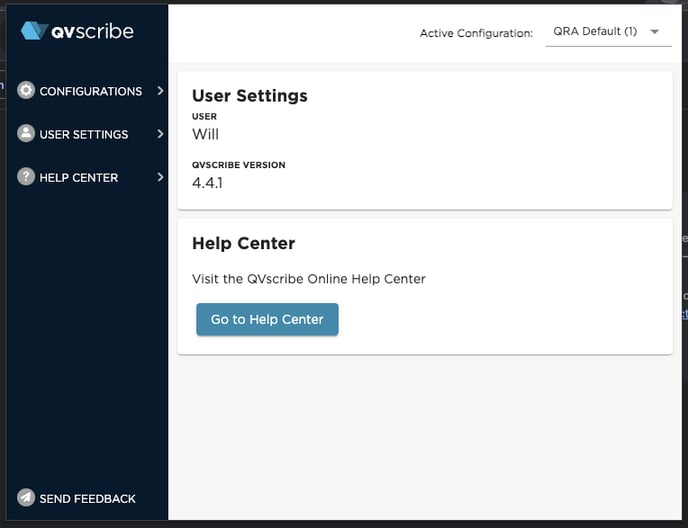
Step 5: You should now successfully be able to access QVscribe!